Account abstraction is the concept that allows us to improve web3 user experience when interacting with decentralized applications (dApps). We define it as the ability to add arbitrary logic to the process of validating a transaction. Account abstraction in blockchain systems enables assets to be held by Smart Accounts (Smart Contract Wallets), rather than being managed by externally-owned accounts (EOAs). The ERC-4337 standard is the account abstraction token standard that enables accounts on Ethereum to behave more like smart contracts.
EOAs have limited capabilities because rules for using EOA wallets are hardcoded into the protocol and cannot be changed. Smart Accounts, on the other hand, are easily programmable, allowing developers to add arbitrary logic to provide new functionalities.
The main challenge with the current web3 user experience is the numerous friction points that users encounter before they can actually engage with our decentralized application (dApp). They have to:

Now consider the complexity of these steps if we had to undertake them for every dApp we use daily.
Account Abstraction (AA) brings two pivotal advancements: Smart Accounts and UserOps. We’ll explain the ERC-4337 transaction flow using smart accounts, focusing on four essential components: User Operations, User Operation Mempool, Bundler Service and Paymaster Service.

When a user engages with the blockchain via their smart account, their intended actions are encapsulated in UserOps. A UserOp is not a traditional blockchain transaction, rather, it functions as a customizable transaction. Consequently, it is possible to programmatically set custom rules and conditions for these transactions.
Unlike traditional transactions that enter the public mempool, UserOperations are directed to the alternative mempool — a specialized, higher-level mempool designed specifically for handling UserOps.
Bundler service listens to the UserOperation mempool, bundles multiple UserOps and pushes them to Entry Point Contract that will eventually help handle the UserOps and create a single transaction to submit on blockchain.
Paymaster service allows gas abstraction, allowing a third party (dApp or wallet) to pay the gas fees on behalf of the user. Additionally, it provides the option for users to pay gas fees using ERC-20 tokens.
Based on the information provided, it’s evident how the Account Abstraction enhances web3 user experience and addresses the challenges faced by new users. Improved UX enabled by AA encompasses:
Account Abstraction is the revolutionary bridge that brings the seamless user experience of web2 to the blockchain-driven world of web3.
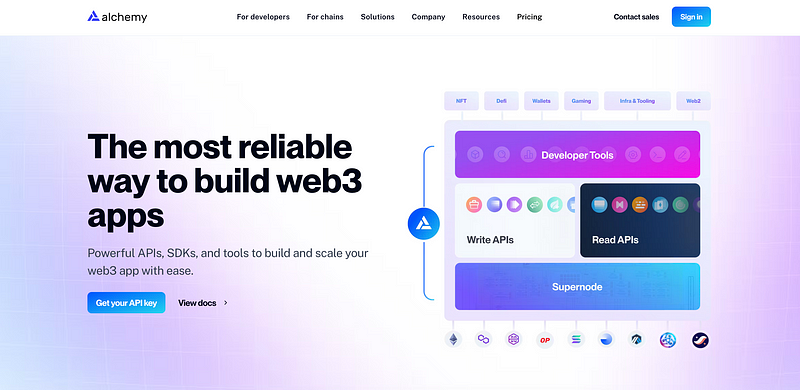
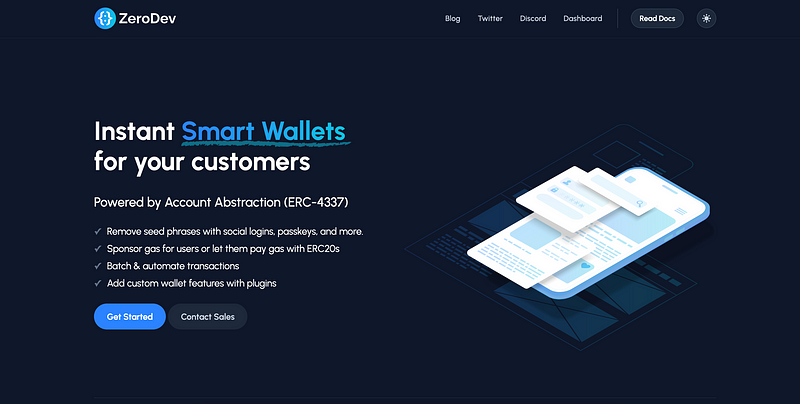
To simplify usage of smart accounts and building dApps, developers have access to various tools that integrate AA into their projects. AA APIs and Software Development Kits (SDKs) bridge the gap between the complexities developers encounter when implementing AA concepts and the smooth, intuitive UX expected by mainstream users. Most of these SDKs are designed to be “plug & play” — allowing developers to quickly and effortlessly incorporate advanced AA features into their dApps with minimal effort. Out of the many available SDKs, here are three that do a great job of incorporating AA into our projects:
Lets integrate Biconomy’s SDK into our NextJS project to showcase sending gasless transactions using their Paymaster service.
Initiate project creation and choose the next options:yarn create next-app
✔ What is your project named? … biconomy-gasless-transactions-demo
✔ Would you like to use TypeScript? … Yes
✔ Would you like to use ESLint? … Yes
✔ Would you like to use Tailwind CSS? … Yes
✔ Would you like to use `src/` directory? … No
✔ Would you like to use App Router? (recommended) … Yes
✔ Would you like to customize the default import alias (@/*)? … No
We’ll connect to a wallet using RainbowKit. Install RainbowKit and its peer dependencies, wagmi, viem, and @tanstack/react-query:yarn add @rainbow-me/rainbowkit wagmi viem@2.x @tanstack/react-query
Choose your desired chains and setup a wagmi config:
import { getDefaultConfig } from "@rainbow-me/rainbowkit";
import { sepolia } from "wagmi/chains";

export const config = getDefaultConfig({
  appName: "biconomy-gasless-transactions-demo",
  projectId: process.env.NEXT_PUBLIC_PROJECT_ID ?? "",
  chains: [sepolia],
  ssr: true,
});
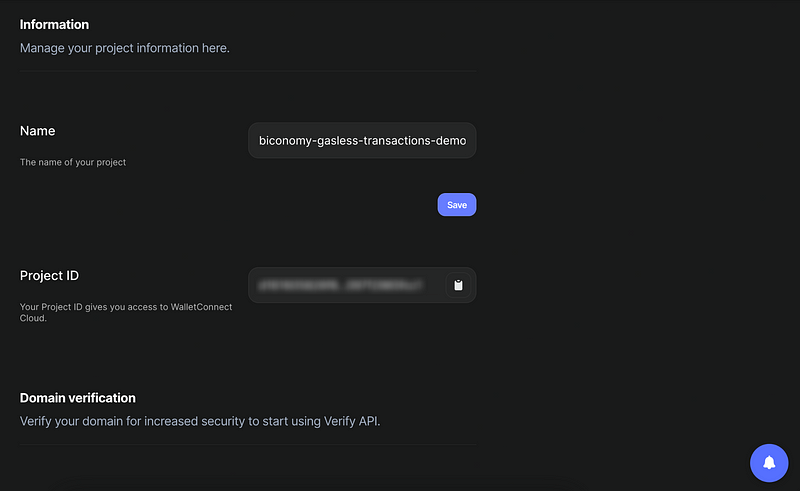
You can get your projectId from WalletConnect by signing in and creating a new project.

Now lets make a Providers component that we’ll use in our layout.js to wrap our application with RainbowKitProvider, WagmiProvider, QueryClientProvider and, later on, the BiconomyProvider.
"use client";
import { QueryClient, QueryClientProvider } from "@tanstack/react-query";
import { WagmiProvider } from "wagmi";
import { RainbowKitProvider, darkTheme } from "@rainbow-me/rainbowkit";
import { config } from "app/wagmiConfig";
import "@rainbow-me/rainbowkit/styles.css";

const queryClient = new QueryClient();

export const Providers = ({ children }: { children: React.ReactNode }) => {
  return (
    <WagmiProvider config={config}>
      <QueryClientProvider client={queryClient}>
        <RainbowKitProvider theme={darkTheme()}>{children}</RainbowKitProvider>
      </QueryClientProvider>
    </WagmiProvider>
  );
};
By using the ConnectButton component, we rely on RaibowKit to manage our user’s wallet selection, display wallet information, and handle network switching.
import { ConnectButton } from "@rainbow-me/rainbowkit";

const Home = () => {
  return <ConnectButton />;
};

export default Home;
Now, let’s integrate Biconomy into our project. Recently, they released their useAA package, specifically designed for React projects. This package simplifies implementation by providing hooks for transaction sponsorship, session management, and much more. We’ll also need to install the core SDK package, which is used internally by useAA to perform AA operations.yarn add @biconomy/account @biconomy/use-aa
Lets add BiconomyProvider component to our Providers.tsx file so we can use useAA hooks.
"use client";
import { QueryClient, QueryClientProvider } from "@tanstack/react-query";
import { WagmiProvider } from "wagmi";
import { BiconomyProvider } from "@biconomy/use-aa";
import { RainbowKitProvider, darkTheme } from "@rainbow-me/rainbowkit";
import { config } from "app/wagmiConfig";
import { BUNDELER_URL } from "./constants";
import "@rainbow-me/rainbowkit/styles.css";
const queryClient = new QueryClient();
export const Providers = ({ children }: { children: React.ReactNode }) => {
return (
<WagmiProvider config={config}>
<QueryClientProvider client={queryClient}>
<RainbowKitProvider theme={darkTheme()}>
<BiconomyProvider
config={{
biconomyPaymasterApiKey:
process.env.NEXT_PUBLIC_BICONOMY_PAYMASTER_API_KEY ?? "",
bundlerUrl: BUNDELER_URL,
}}
queryClient={queryClient}
>
{children}
</BiconomyProvider>
</RainbowKitProvider>
</QueryClientProvider>
</WagmiProvider>
);
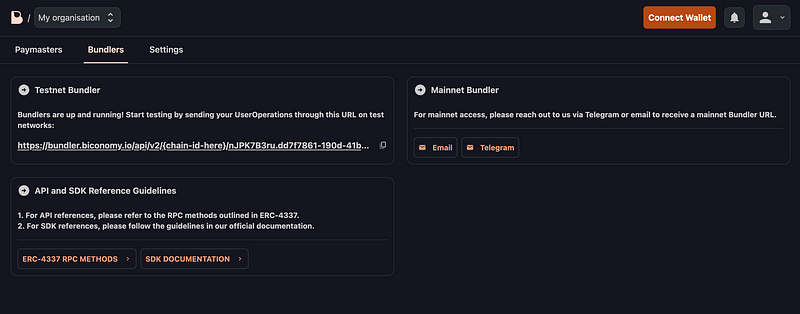
};We can retrieve paymaster and bundler details from the Biconomy dashboard. Sign in using Email, Github or Gitlab and get your bundlerUrl.
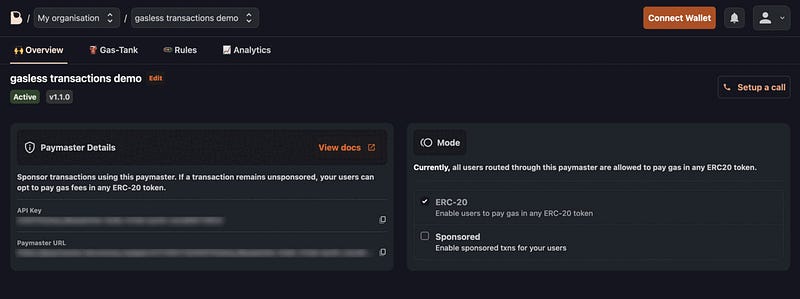
To retrieve biconomyPaymasterApiKey you need to register a new Paymaster with selected network, which is Sepolia test network in our case. Then you’ll be able to view your paymaster URL and the API key.
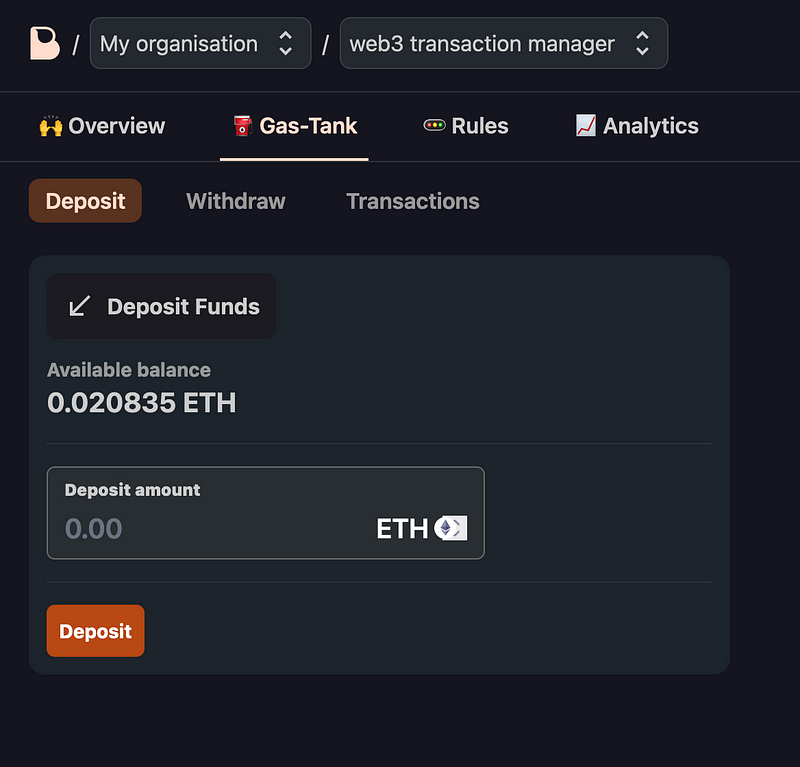
Paying gas fees in ERC-20 tokens is enabled out of the box. To setup a gas sponsorship, we’ll need to connect a wallet and setup a gas tank, to which we’ll deposit funds that will be used to pay for our user’s gas fees.
Let build TransactionForm component responsible for sending our user’s transactions.
"use client";
import { useAccount } from "wagmi";
import { useSendTransaction, useSmartAccount } from "@biconomy/use-aa";
import { PaymasterMode } from "@biconomy/account";
import { Address, parseEther } from "viem";
import Input from "app/components/Input";
import Button from "app/components/Button";

const TransactionForm = ({ isGasless }: { isGasless: boolean }) => {
  const { address } = useAccount();
  const { mutate, isPending } = useSendTransaction();
  const smartAccount = useSmartAccount();

  const handleSubmit = async (event: React.FormEvent<HTMLFormElement>) => {
    event.preventDefault();

    const formData = new FormData(event.target as HTMLFormElement);
    const to = formData.get("address") as Address;
    const value = formData.get("value") as string;
    const etherValue = parseEther(value);

    mutate({
      transactions: {
        to,
        value: etherValue,
      },
      ...(isGasless && {
        options: { paymasterServiceData: { mode: PaymasterMode.SPONSORED } },
      }),
    });
  };

  return (
    <div className="flex flex-col items-center justify-evenly">
      <form
        onSubmit={handleSubmit}
        className="flex flex-col items-end gap-4 justify-center"
      >
        <Input
          label="Smart Account Address"
          name="smartAddress"
          placeholder="Please connect wallet"
          disabled
          value={smartAccount.smartAccountAddress}
        />
        <Input
          label="Address"
          name="address"
          placeholder="0xA0Cf…251e"
          required
          disabled={!address}
        />
        <Input
          label="Value"
          name="value"
          placeholder="0.05"
          required
          disabled={!address}
        />
        {address ? (
          <Button isActive type="submit" className="mt-2" disabled={isPending}>
            {isPending ? "Waiting..." : "Send"}
          </Button>
        ) : (
          <Button className="mt-2" disabled={true}>
            Connect Wallet
          </Button>
        )}
      </form>
    </div>
  );
};

export default TransactionForm;
Currently, we can’t view the final transaction hash to check the transaction details on Etherscan. To add this functionality, let’s use the useUserOpWait hook, which will return the UserOp receipt containing the transaction hash.
"use client";
import { useAccount } from "wagmi";
import {
  useSendTransaction,
  useSmartAccount,
  useUserOpWait,
} from "@biconomy/use-aa";
import { PaymasterMode } from "@biconomy/account";
import { Address, parseEther } from "viem";
import Link from "next/link";
import Input from "app/components/Input";
import Button from "app/components/Button";
import { formatHash } from "app/helpers";

const TransactionForm = ({ isGasless }: { isGasless: boolean }) => {
  const { address, chain } = useAccount();
  const {
    mutate,
    isPending,
    data: userOpResponse,
    error: errorSendTransaction,
  } = useSendTransaction();
  const smartAccount = useSmartAccount();
  const {
    isLoading: waitIsPending,
    error: waitError,
    data: waitData,
  } = useUserOpWait(userOpResponse);

  const handleSubmit = async (event: React.FormEvent<HTMLFormElement>) => {
    event.preventDefault();

    const formData = new FormData(event.target as HTMLFormElement);
    const to = formData.get("address") as Address;
    const value = formData.get("value") as string;
    const etherValue = parseEther(value);

    mutate({
      transactions: {
        to,
        value: etherValue,
      },
      ...(isGasless && {
        options: { paymasterServiceData: { mode: PaymasterMode.SPONSORED } },
      }),
    });
  };

  return (
    <div className="flex flex-col items-center justify-evenly">
      <form
        onSubmit={handleSubmit}
        className="flex flex-col items-end gap-4 justify-center"
      >
        <Input
          label="Smart Account Address"
          name="smartAddress"
          placeholder="Please connect wallet"
          disabled
          value={smartAccount.smartAccountAddress}
        />
        <Input
          label="Address"
          name="address"
          placeholder="0xA0Cf…251e"
          required
          disabled={!address}
        />
        <Input
          label="Value"
          name="value"
          placeholder="0.05"
          required
          disabled={!address}
        />
        {address ? (
          <Button
            isActive
            type="submit"
            className="mt-2"
            disabled={isPending || waitIsPending}
          >
            {isPending || waitIsPending ? "Waiting..." : "Send"}
          </Button>
        ) : (
          <Button className="mt-2" disabled={true}>
            Connect Wallet
          </Button>
        )}
      </form>
      <div className="w-80 min-h-40">
        {waitData?.receipt?.transactionHash && (
          <div className="flex justify-between">
            Transaction Hash:
            <Link
              href={`${chain?.blockExplorers?.default?.url}/tx/${waitData.receipt.transactionHash}`}
              rel="noopener noreferrer"
              target="_blank"
              className="text-indigo-500"
            >
              {formatHash(waitData.receipt.transactionHash)}
            </Link>
          </div>
        )}
        <div className="flex flex-col gap-2">
          {isPending && <div>Waiting for confirmation...</div>}
          {waitIsPending && (
            <div>Transaction confirmed, waiting to process...</div>
          )}
          {errorSendTransaction && (
            <div className="text-rose-500">{`Error message: ${errorSendTransaction}`}</div>
          )}
          {waitError && (
            <div className="text-rose-500">{`Error message: ${waitError}`}</div>
          )}
        </div>
      </div>
    </div>
  );
};

export default TransactionForm;
And there you have it — you’ve successfully started abstracting away gas fees from your users! By handling these fees on user’s behalf, your dApp becomes more accessible and user-friendly, which is likely to increase user engagement and traffic.
View the whole code solution: github/web3-transaction-manager
Visit the web app: vercel/web3-transaction-manager - Please note that currently, only the Polygon Amoy network is supported on the deployed app.